

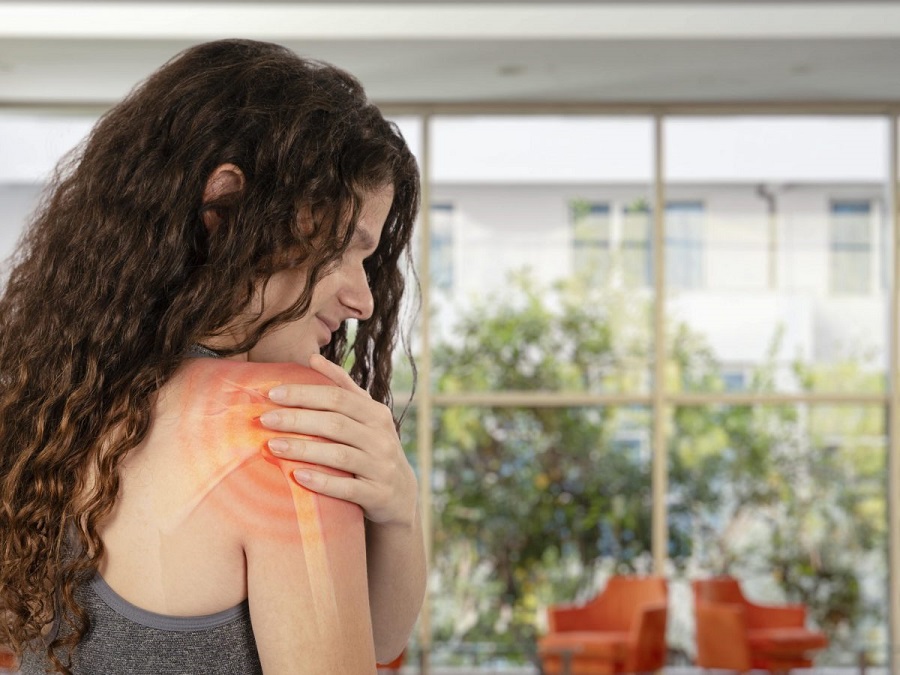
Few injuries interfere with daily life quite as persistently as a damaged shoulder. You notice it the moment you reach into the backseat of your car, slip an arm into a winter coat, or roll onto your side in bed. That sharp, catching ache at the outer edge of your arm is the classic calling card of a compromised rotator cuff.
When an MRI or clinical evaluation identifies a mild rotator cuff tear—typically classified as a low-grade partial-thickness tear or localized tendinopathy—the initial instinct is often to panic and imagine surgical anchors. In reality, conservative home rehabilitation is the standard, evidence-supported first line of defense for non-catastrophic tears. Tendons are dynamic living tissues that remodel in response to carefully managed mechanical loading.
Rehabilitating your shoulder at home does not mean working through searing pain or doing random arm circles until your joint pops. It requires a disciplined, phased approach designed to restore pain-free range of motion, wake up supporting musculature, and gradually strengthen the tendon fibers without triggering a fresh inflammatory flare-up.
The Guiding Principle: Relative Rest Over Total Immobilization
The single greatest mistake people make when nursing a mild shoulder tear is babying the arm into complete stiffness. While you certainly want to avoid the provocative movements that caused the irritation—such as aggressive overhead throwing, heavy bench presses, or awkward heavy lifting—putting your arm in a sling for weeks is counterproductive.
Total immobilization causes muscle atrophy within days, stiffens the joint capsule, and significantly increases your risk of developing adhesive capsulitis, commonly known as frozen shoulder. Tendons actually require a mild, controlled stimulus to maintain fiber alignment and draw in nutrient-rich fluid.
Adopt a strategy of relative rest. Keep the arm moving within its comfortable, pain-free envelope while temporarily sidelining aggressive overhead reaches and awkward behind-the-back motions. If an activity produces sharp or pinching pain, modify it or table it for later.
Phase One: Gentle Decompression and Passive Range of Motion
Before you touch a resistance band or dumbbell, you must restore blood flow and reduce muscle guarding around the glenohumeral joint. When a tendon is irritated, surrounding muscle groups like the upper trapezius and deltoids reflexively tighten to protect the arm, creating excessive compressive forces.
Codman’s Pendulum Exercises
The pendulum swing is an invaluable entry-level exercise because it gently opens the shoulder socket without demanding active contraction from the rotator cuff muscles.
Stand next to a table or sturdy chair, hinge forward at your hips to roughly a 45-degree angle, and support your torso with your uninjured arm. Let your injured arm hang straight down toward the floor like a heavy, relaxed pendulum. Rather than using your shoulder muscles to move your arm, initiate small, circular movements entirely from your torso and hips.
Gently rock your body in circles, allowing the momentum to guide your relaxed arm clockwise for 30 seconds, then counterclockwise. Your arm should feel completely dead and passive. Perform this two to three times a day to lubricate the joint surfaces.
Supine Passive Flexion
Lying flat on your back takes gravity out of the equation and stabilizes your shoulder blade against the floor.
Hold a light broomstick or cane with both hands, hands shoulder-width apart, keeping your elbows extended. Using the strength of your unaffected arm, slowly push the stick upward and backward toward the wall behind your head until you feel a gentle, comfortable stretch. Your injured arm should simply come along for the ride. Hold the top position for two to three seconds, then use your healthy arm to guide the stick back to your hips. Complete two sets of ten controlled repetitions.
Phase Two: Activating the Scapular Platform
The rotator cuff consists of four small muscles—the supraspinatus, infraspinatus, teres minor, and subscapularis—that seat the ball of your upper arm bone into its shallow socket. However, these muscles anchor directly to your scapula, or shoulder blade. If your shoulder blade is unstable or tilted forward due to poor posture, the rotator cuff is forced to work from a compromised mechanical position.
Strengthening the muscles that control your scapula creates a stable foundation, instantly relieving stress on the torn cuff fibers.
- Scapular Pinches: Sit or stand tall with your arms relaxed at your sides. Without shrugging your shoulders toward your ears, gently draw your shoulder blades back and downward, imagining you are tucking them into your back pockets. Hold this contraction for five seconds, release smoothly, and repeat for twelve repetitions.
- Wall Slides with Forearm Contact: Stand facing a smooth wall with your forearms resting vertically against the surface, elbows bent at 90 degrees. Gently press your forearms into the wall and slide them upward several inches until you feel the muscles beneath your armpits and along your ribcage engage. Slide back down under control, focusing on keeping your neck and upper traps relaxed.
Phase Three: Isometric Loading to Downregulate Pain
Isometric exercises involve contracting a muscle against an immovable object without changing the joint angle. They are exceptionally effective in early rehab because they stimulate motor unit recruitment and trigger an analgesic, pain-relieving response in the tendon without mechanical shearing across the tear site.
Isometric External Rotation
Stand in a doorway with your injured arm bent at a 90-degree angle, tucked neatly against your ribcage. Place a small rolled-up towel between your elbow and your torso; holding this towel in place prevents your large deltoid muscle from compensating for your deeper rotator cuff.
Place the back of your wrist against the doorframe. Gently press outward into the frame as if trying to rotate your forearm away from your stomach. Do not push with maximum strength; apply a smooth 30 to 40 percent of your maximum effort. Hold this steady contraction for five to eight seconds, breathe normally, and relax. Complete eight to ten repetitions.
Isometric Internal Rotation
Using the same doorway and body position, turn around so the palm side of your wrist rests against the inner frame. Press inward toward your midline with light-to-moderate effort, engaging the subscapularis on the front of your shoulder blade. Hold for five to eight seconds, maintaining an upright posture throughout.
Phase Four: Dynamic Strengthening with Light Resistance
Once passive movements are entirely comfortable and isometric contractions cause zero lingering soreness, you can progress to light dynamic loading. The goal here is muscular endurance and fine motor control, not heavy lifting.
Side-Lying External Rotation
Lie on your uninjured side on a firm mattress or exercise mat. Place a folded hand towel under the elbow of your injured arm and bend the elbow to 90 degrees, resting your forearm across your abdomen.
Without rolling your body backward, slowly rotate your forearm upward toward the ceiling, keeping your elbow pinned to the towel. Pause at the top of the range for a beat, then take three full seconds to lower your arm back to your belly. Start with just the weight of your arm; as this becomes effortless across three sets of twelve reps, progress to holding a single twelve-ounce can of food or a one-pound hand weight.
Standing Banded External Rotations
Anchor a light resistance band to a sturdy door handle at elbow height. Stand perpendicular to the anchor point, holding the end of the band in your outside hand with your elbow tucked at your side at a 90-degree angle.
Slowly pull the band outward, rotating through your shoulder joint while keeping your elbow stationary. Control the band on the return path; the eccentric, or lowering, phase is where the tendon undergoes critical structural remodeling. Perform two to three sets of ten to twelve deliberate repetitions.
Navigating Discomfort and Recognizing Warning Signs
A sensible rehabilitation process requires honest communication with your nervous system. A mild sensation of muscular work, light stretching, or a transient dull ache during exercises is normal. However, pain should always return to its baseline within an hour of completing your routine.
Use the twenty-four-hour response rule: if your shoulder feels noticeably more irritable, stiff, or achy the morning after an exercise session, you exceeded your tissue’s current tolerance. Dial back the repetitions, reduce the resistance, or temporarily return to the previous phase.
Be vigilant for clinical red flags that suggest an injury is more severe than a mild tear:
- An inability to actively lift your arm overhead despite having no pain.
- Sudden, severe weakness when trying to hold your arm out to the side.
- Unrelenting, throbbing night pain that keeps you awake regardless of how you position your pillows.
- Significant numbness, tingling, or weakness traveling down into your hand or fingers.
If you encounter any of these symptoms, step away from home exercise and schedule an evaluation with an orthopedic specialist or physical therapist.
Tendon tissue remodels at a deliberately slow pace because of its limited vascularity. Rebuilding a resilient rotator cuff rarely happens in two weeks; it is a gradual process that unfolds over eight to twelve weeks of patient, consistent practice. Stay steady with the basic movements, celebrate small milestones in daily comfort, and let your body adapt at its natural rhythm.